Cloth Pad Sewing Steps
This is an overview of how to sew your own washable cloth pads.
Here is a list of videos for sewing cloth pads.
Print pattern
Download and print the beginner pattern, below. If you don't have a printer, some people have had success with tracing patterns onto paper from their screen. (Be careful not to damage your screen)

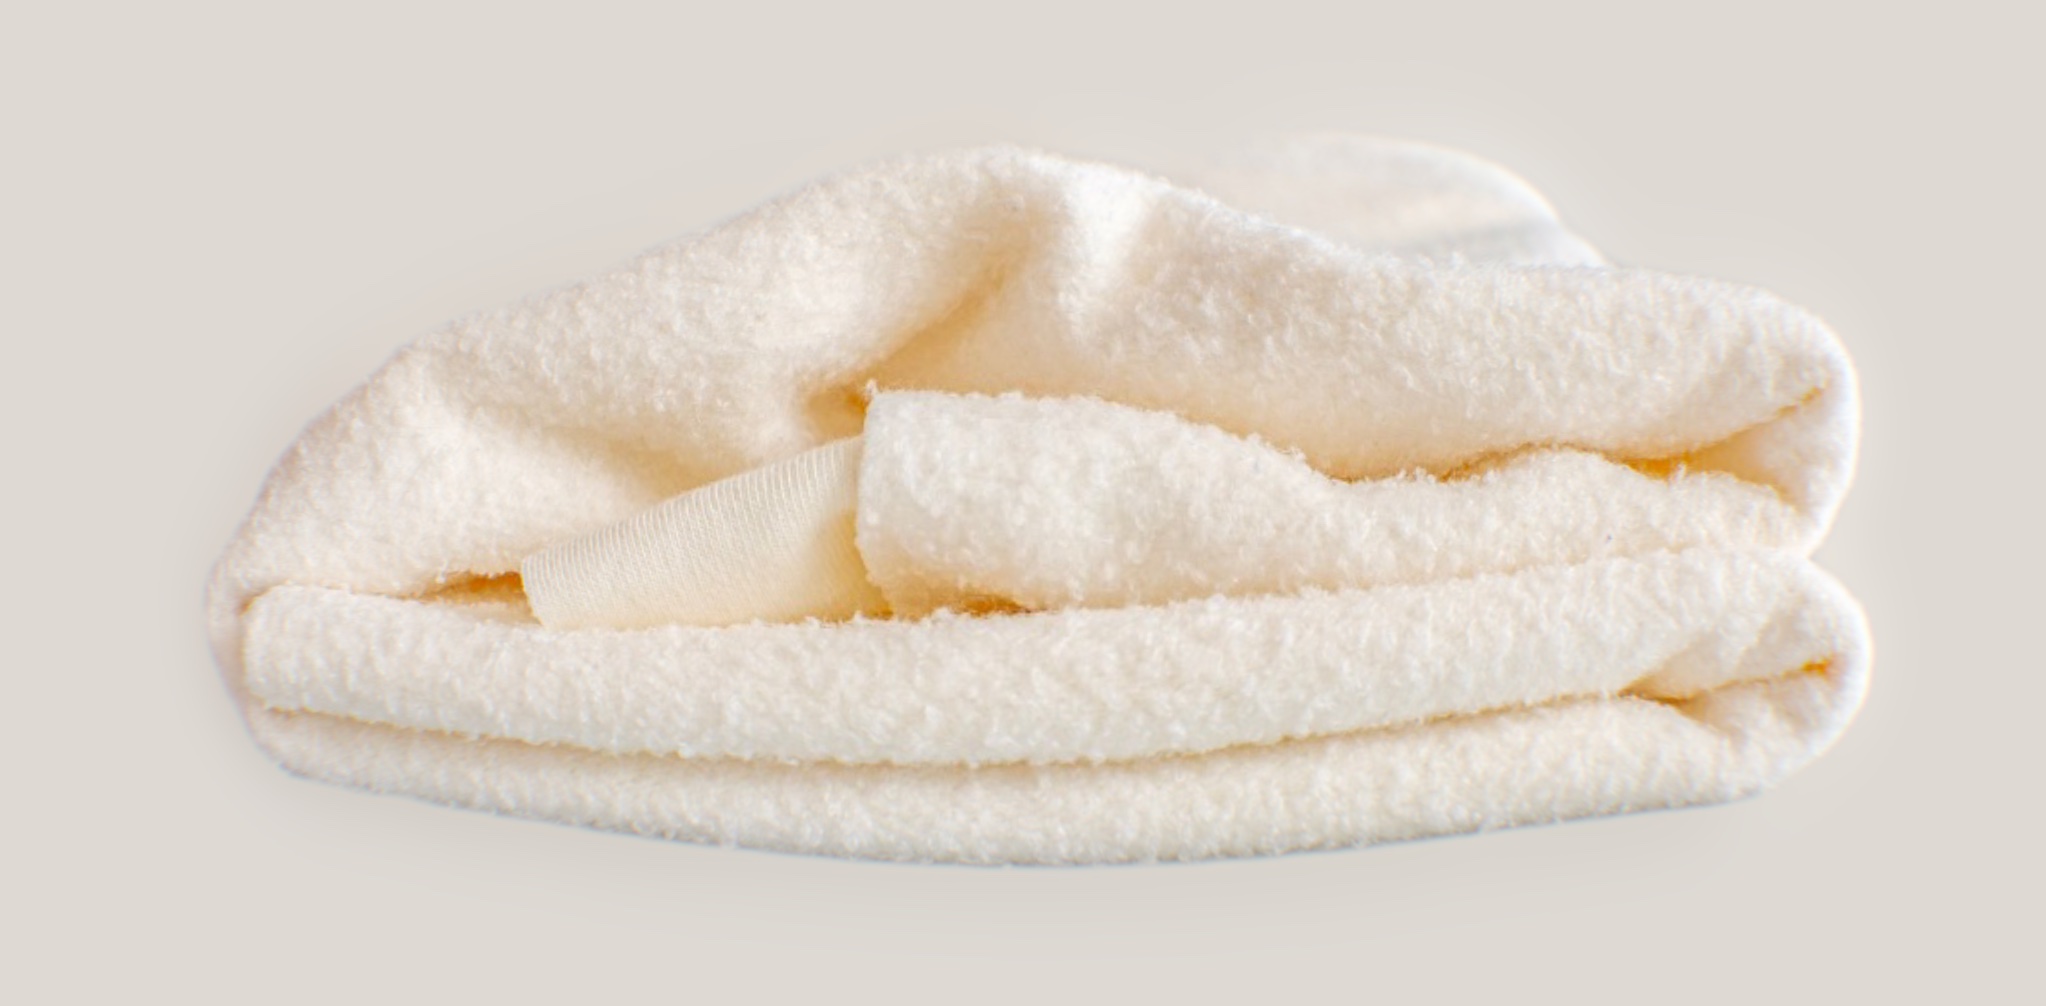
You need 3 fabric layers
Each pad has 3 parts: a topper, a core, and a base. The topper sits next to the body and touches your skin, so you can choose a fabric type that feels nice to you.
Draw the sewing line on the topper
Trace the sewing line onto the back of the topper fabric using washable marker or a fine tip permanent marker. For a dark fabric, you can use a gel pen to get the line to show up.

Cut the fabric
Rough cut around sewing line. Cut core exactly on pattern line.

Place core center in sewing line
Make sure your stitched core falls within the traced turn/stitch line so it gets enclosed properly.

Stitch the core to the topper
Sew around the edge of the absorbent core to secure it to the topper using a zigzag or straight stitch.

Pin right sides together
Lay the base fabric and the topper (with core) right sides together, and pin all around the edge.

Stitch top and bottom layers together
Sew around the pad on the marked line, leaving a small gap for turning the pad right side out.

Trim the seam allowance
Trim down the seam allowance to reduce bulk, especially around the curves and wings.

Make little snips to release tension
Cut small notches or slits into the seam allowance at curves to help the pad lay flat when turned.

Clip off sharp outer tips
Carefully trim the very tips of the wings and corners to help with sharp points when turned.

Turn the pad right side out
Reach inside the pad through the gap and gently pull it right side out.

Poke out seams and corners
Use a blunt stick or turning tool to push out all corners and curves fully.

Align with presser foot and topstitch
Press the pad flat and topstitch all the way around the edge, closing the turning gap.

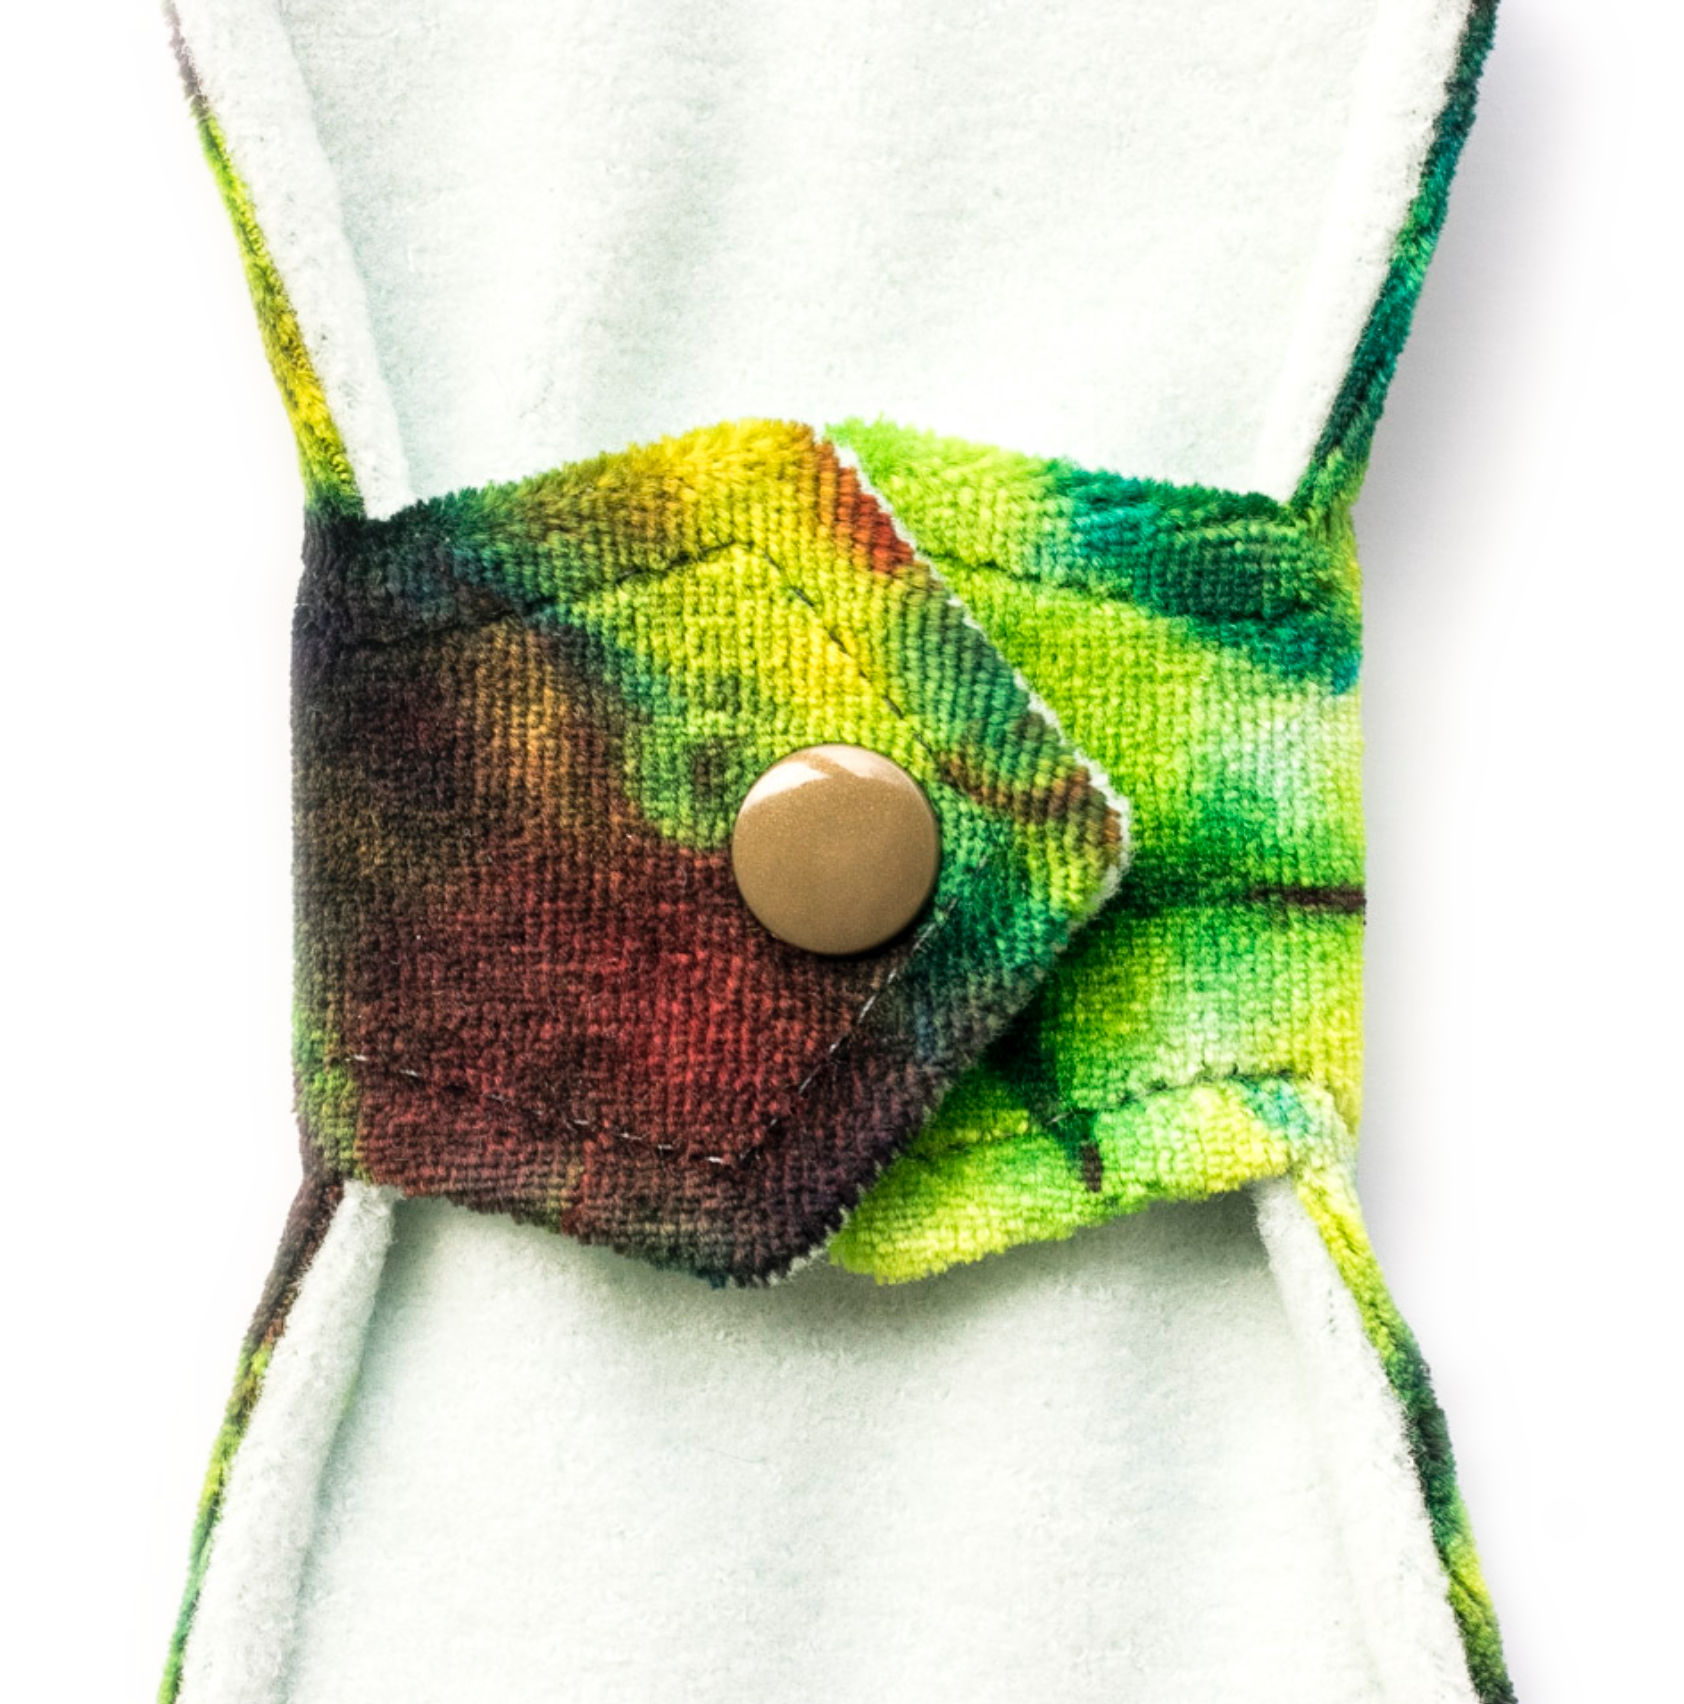
Add wing snaps
Add plastic snaps or sew-on Velcro to the wings so the pad can be fastened around underwear.
Absorbent core layering guide for sewing cloth pads
This image is a quick reference for how many layers of each fabric type to cut. Always prewash absorbent fabrics before sewing, so they can shrink ahead of time.
